Now I'm playing with Power - Portable Power!...
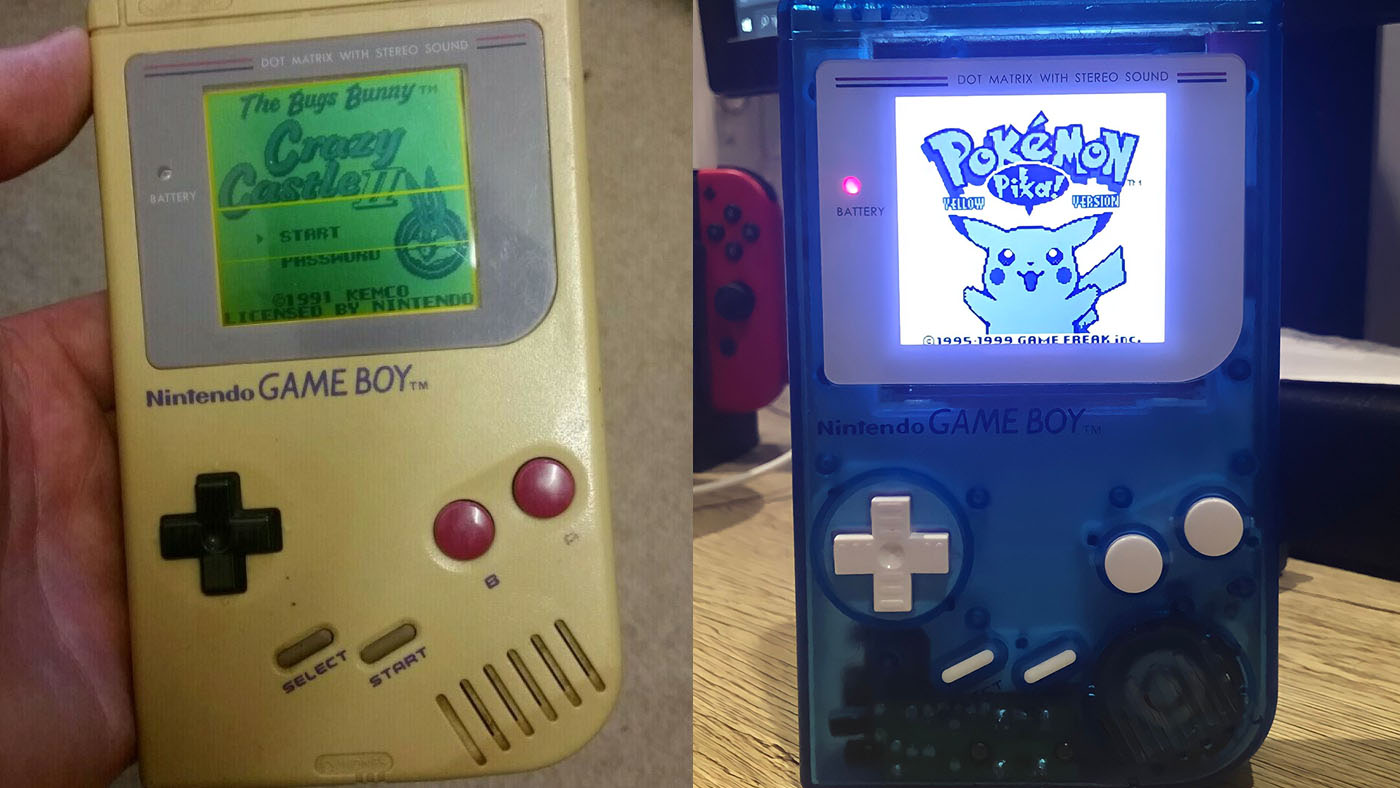
Sure, I could have totally opted to pre-order the incredible FPGA hardware alternative to the OG – the GOAT handheld of all time – but after investing in a Super NT from Seattle based manufacturer Analogue, I wasn’t prepared to shill another $300AUD for their Game Boy clone. I’d seen custom Game Boy builds over the years and was always intimidated by how complex and extensive some could be, but this past Christmas I decided to take a punt and invest in a small project. Restore a Game Boy and give it new life. Quickly scrolling eBay, I could see people were asking insane amounts for a yellowed, filthy and for some, their completely broken handheld console. I knew I wasn’t going to purchase one that wasn’t in working order, as it ran the risk of it’s main motherboard being DOA.

Before & After. Damn it looks so good.
I was lucky to find a seller who was willing to part ways with the Game Boy at a generous price. The picture above was part of the listing and showed the screen with a few dead pixels, and for anyone who knows dead pixels on the OG DMG Game Boy isn’t a simple blemish on its emerald display, they run horizontally across the entire screen. The pigment of the shell only told its story of a gamer who loved a good ‘Durry’ – Aussie slang for Cigarette – and a lengthy Super Mario Land 2 session. Either that or it garnered a nice tan from sitting in the sun, as the opposite side of the unit was it’s original shade of grey. I knew that if I was going to go ahead with this project, that I would want to build something that was striking, and good looking. A scheme that modernised the Game Boy, but also says “retro” when gazing upon its exterior.
This is why when scrolling through the online marketplace, I chose a nice dark blue shell, with bright white buttons, rubbers and a bezel to match. The unfortunate part of the build is the rubbers did not arrive, but I’ve already gone ahead and ordered a new pair, while using the originals for now. But I didn’t want this to be a basic build, a simple screen swap and a backlight addon that simply illuminates an original screen. I wanted this to look premium, so going with the IPS LCD screen was the icing on the cake. Sure it’s asking a little more from the wallet, but pixel perfection and incredible clarity is something we almost demand from our retro gaming nowadays. It had been years since I handled a soldering iron, but retaining the knowledge I had learned in high school, I was able to make minimal modifications to the new front motherboard needed to transfer the speaker from the old unit to it’s new housing.

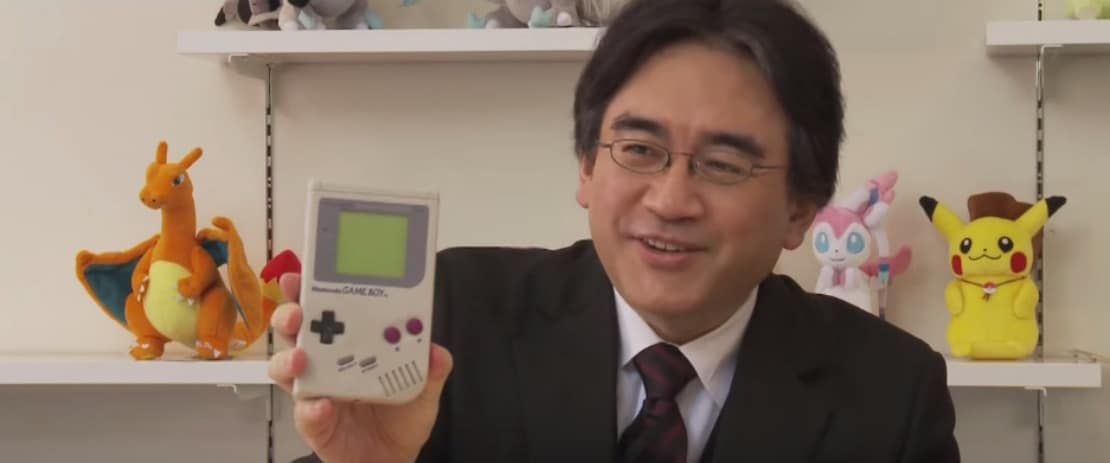
Former Global President & CEO of Nintendo, The Late Satoru Iwata (Credit: Nintendo)
To be honest, it’s surprisingly easy and compared to purchasing an Analogue Pocket, it’s a way softer blow to the budget. Yes, the FPGA alternative does run a myriad of platforms, but it’s good to have options and knowing that this unit was crafted by me, for me holds more sentimental value. Why the Game Boy? I have a strong love for the little-big green screened, grey hulk that bought us a litany of classics that I’m ready to rediscover. I mention Super Mario Land 2: 6 Golden Coins being my absolute, undeniable favourite for the Game Boy, with Wario Land taking a close 2nd. I never had strong ties with the Game Boy Color, and while I owned a Game Boy Advance, I had already moved on from portable gaming at this time back to standard home console, so my passion for the Game Boy had diminished – that until the NintendoDS, but that’s a story for another time.
I will admit however, if it weren’t for the Analogue Pocket, I probably wouldn’t have even considered this project at all. Scowering across YouTube, learning the how-to’s and the know-how’s of modifying and replacing parts inside the handheld, I was in love with retro gaming again. I knew that if I was going to complete the puzzle I needed one more piece, and yes it’s a grey area (no pun intended) but let’s be frank, Game Boy games are expensive and Nintendo aren’t losing money on downloaded Game Boy roms. Anyway, I purchased a flashcart from AliExpress that now has every single Game Boy game on it, meaning I won’t have to remove the cartridge from the slot – ever. A plus is the cartridge is the exact same colour as the custom shell, so it feels like one complete unit. Now while I feel a deep sense of accomplishment doing this, I’ve now had a taste and want more. So yeah, I’m going to look into customising more handheld units, whether they be the GB, GBC or GBA/SP.
But anyway, I’m excited to just chill and play through some of my childhood memories. Runbacks of Wario Land, Pokemon Yellow, Metroid II and even the Donkey Kong Land series, you know the games that made the kid’s eyes go all funny cos they had to adjust the contrast thirty bloody times while playing them? Yeah, the LCD screen will alleviate that thankfully. Oh! The best part is the contrast dial is now a brightness panel, that also changes the colour scheme. I do like the simple grey/black and white as it’s easy on the eyes, but a nice aesthetic is a sweet shade of purple upon the translucent blue shell that lights up a dim room. I’m proud of this little project, and hope it can inspire someone out there that may want to give this a go, to do so.

