Custom Themes, Battery Management and More...
Steam Deck is all the rave right now, with more consumers snatching up the portable PC device. It’s widely known for being one of the most versatile pieces of kit available with open source software rolling out everyday. Well today’s no different with the arrival of Decky Loader, a plugin manager for your Steam Deck, that allows users to install custom themes, battery management, ProtonDB badges for your library, emulated HDR and a whole lot more. We’re going to cut through the fluff today and get right into how you can install Decky Loader and some of its brand new features to expand your Deck’s quality of life.

Press down on the STEAM button below your left hand touch-pad, then go into Settings, then select System and scroll down the Enable Developer Mode and activate it by toggling the switch. Then on the left sidebar menu, scroll all the way to the bottom where you should see Developer, head into its options and scroll down until you see “CEF Remote Debugging” and toggle that on, then Restart your Steam Deck.

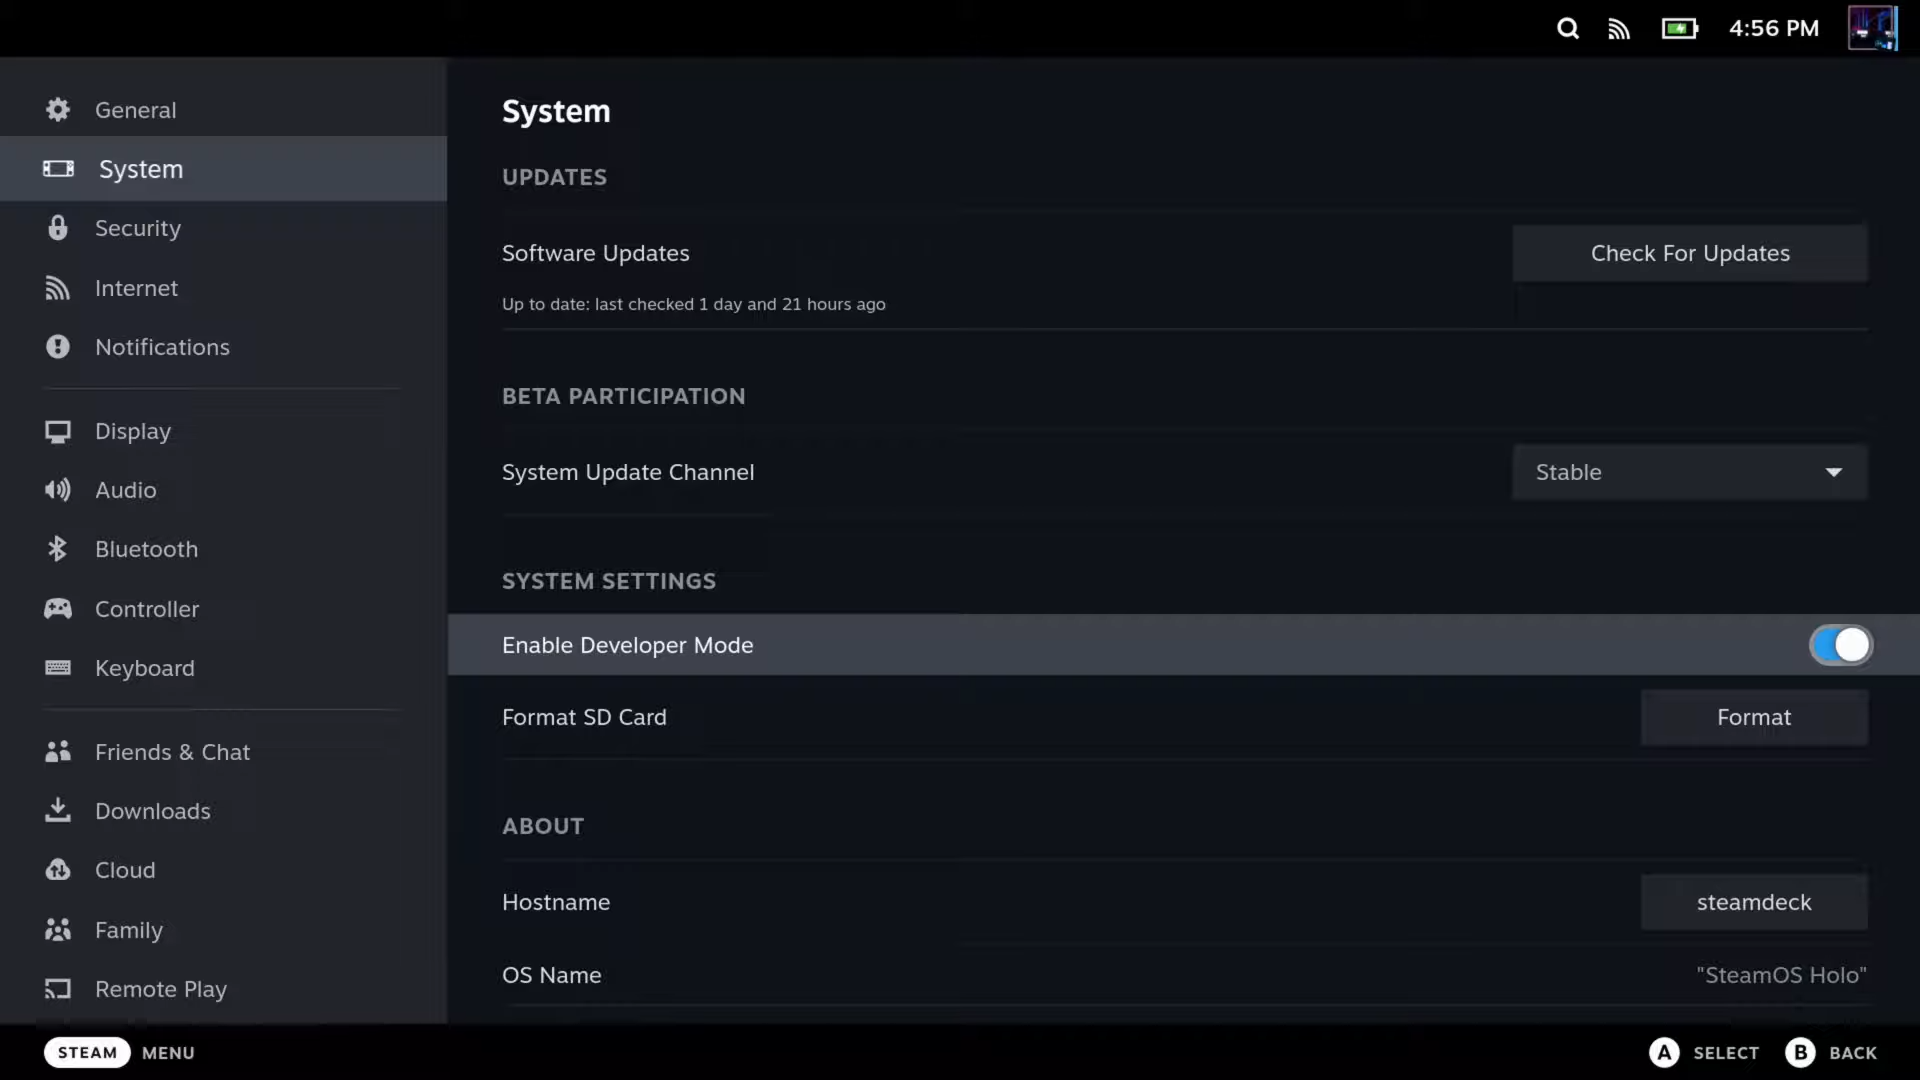
Once your system has rebooted, launch Desktop Mode by pressing the STEAM button again, selecting Power, then Switch to Desktop.
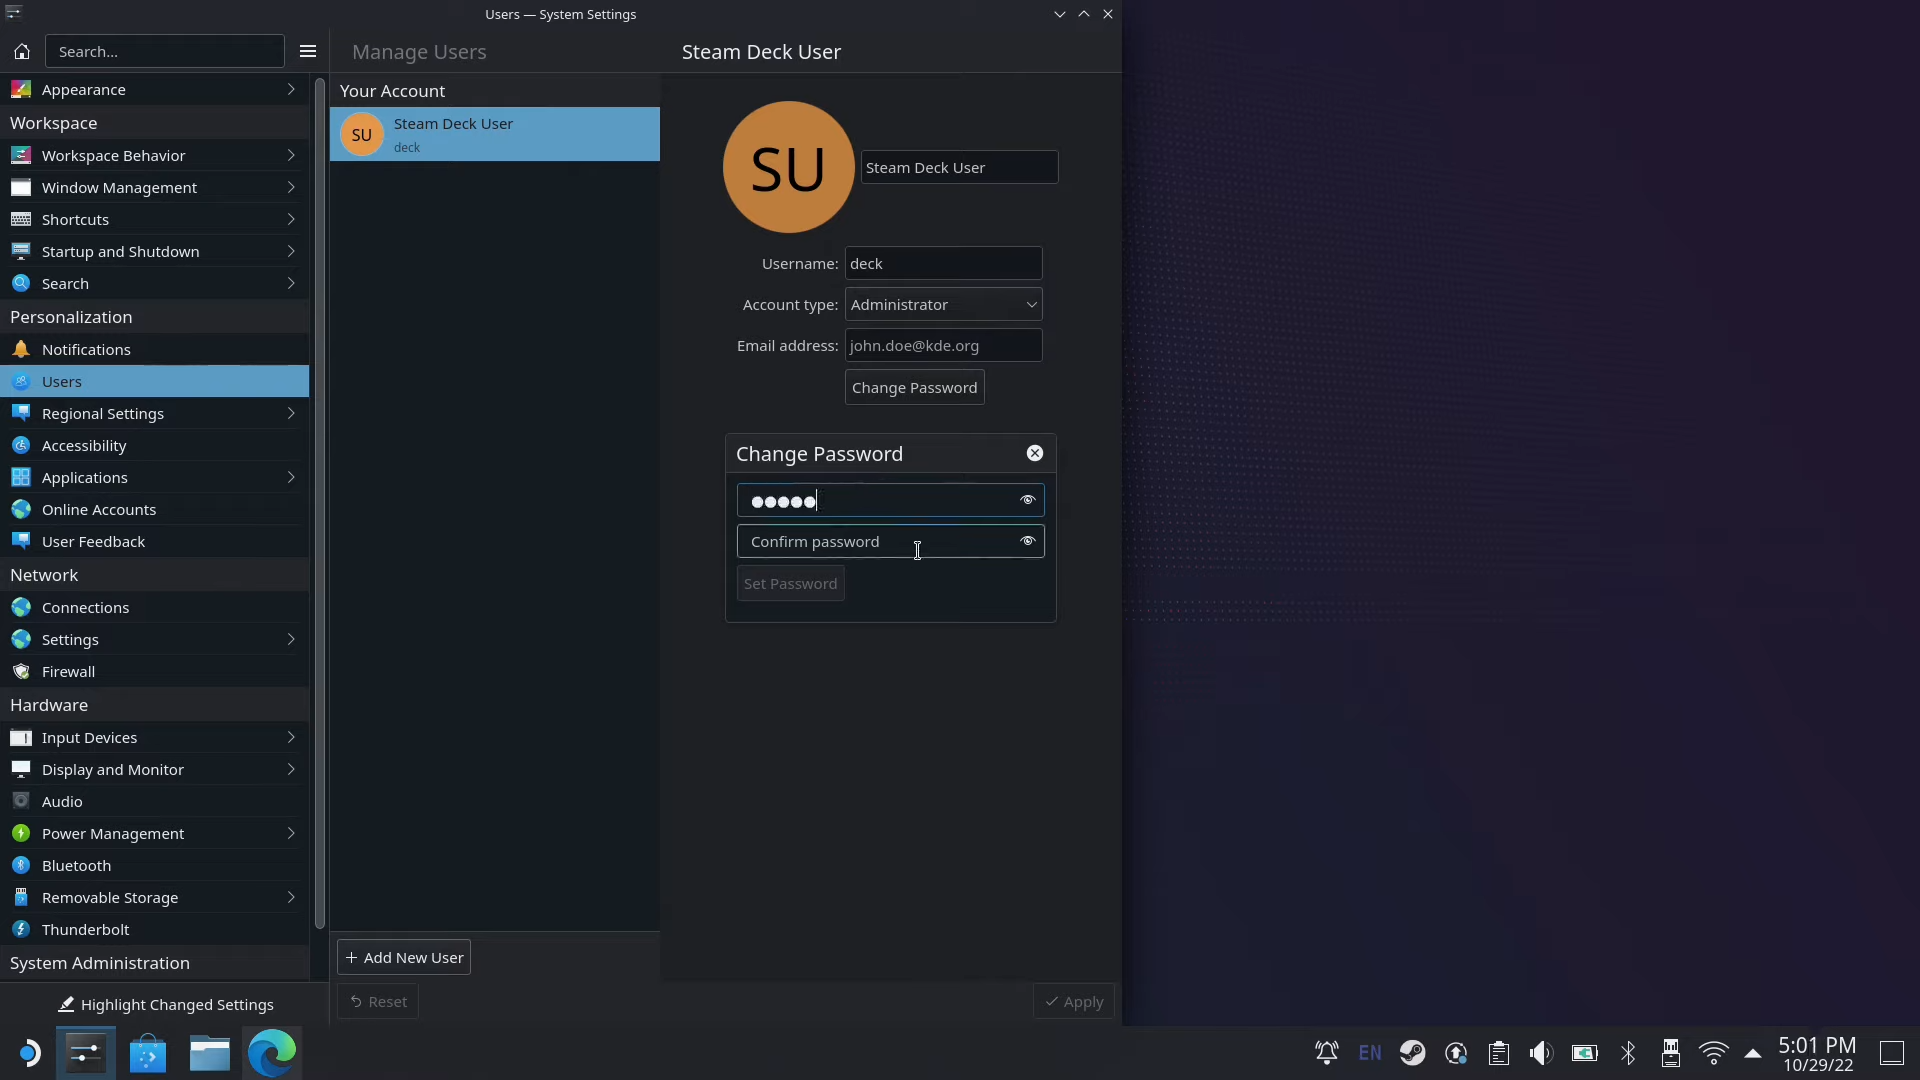
If you haven’t set a Sudo password for your Deck, you will need to for your installation to process. Select System Settings on the taskbar (the icon that looks like level meters) and select Users. Here you will get a generic “Steam Deck User” profile. Set this to your liking, then press Change Password. I would set this to something real easy to remember. Once you’re done, press Set Password and close out of System Settings.

Next, open your browser and load this page on your actual unit to copy the following Konsole command:
curl -L https://github.com/SteamDeckHomebrew/decky-installer/releases/latest/download/install_release.sh | sh
Next, open Konsole from the Application Launcher (Start Menu) and paste the text in the prompt and select enter from either your Virtual Keyboard (STEAM button + X) or attached physical Keyboard. The process will ask for your Sudo password which you set prior to this step. Once this is all done, restart your Steam Deck by heading to the Application Launcher, selecting Restart.

Your Deck will boot into SteamOS once again, where here you want to hit the Notifications Button – the three dots (•••) adjacent to the STEAM Button. If you see a new icon at the bottom of the menu that looks like a power plug, congratulations you’ve successfully installed Decky Loader. If there’s a yellow circle above the icon, there’s an update available for the feature. You want to highlight Decky Loader, then select the cog gear icon at the top, then in General select Install Update.

Once you have Updated Decky Loader, you can browse the plugin store by selecting the Store Icon to the right of the “Decky” title in the menu selection. From here you can install any new feature to your liking. Each plugin will detail what it does and how to use it. It’s simple and easy to navigate through. Useful items like Fantastic allow you to adjust your Steam Deck’s fan curve, or vibrantDeck emulates HDR saturation, or Animation Changer gives the user a comprehensive customisation tool for changing your Steam Deck’s UI Theme. Enjoy!